This is the image I indend to use on the back of my Digipak. I wanted to again adjust the colours to make the artist stand out in the background. I duplicated the layer and then turned the top layer a red sort of haze in order to make the pillar and my artist's cardigan stand out.
After this I used the background eraser tool to erase the background and return it to green. Then I used the blur tool so that the focus is on my artist. Next I used the lasso tool to highlight my artist (as above) and then I increased the yellow in the colour adjuster in order to make the guitar and her hair stand out. I then used the background eraser tool again to erase the yellow haze on her dress and face, in order to make certain features stand out.
This is the image I aim to use on the inside of my Digipak. Firstly I again duplicated the layer so I could adjust the colours. The first thing I did was increase the green so that the greens in the background stand out in order to connote to nature as part of the folk genre. I then used the background eraser tool to erase my artist out to stop the green tinge on her. I then used the blur filter to soften the edges around her and draw focus to her in the image.
I then repeated what I did above but with a red colour adjust instead to make the cardgian stand out.
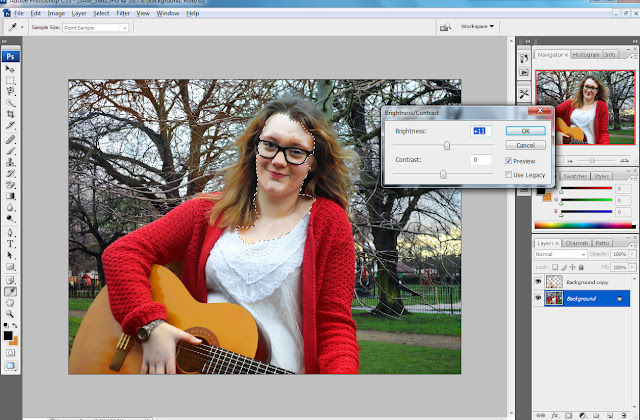
After doing this I then realsed that my artist face had been dimmed by all the colour adjustments, so I used the magnetic lasso tool to accurately select around her face and neck and increased the brightness so her face became more clear and stood out.
I then also realised the guitar didn't stand out as much as I had hoped, so I selected it again using the magnetic lasso to get a smooth cut and increased the yellows to restore the guitar to a more normal colour.
And this is the final outcome :)


No comments:
Post a Comment